I have created a new Litchi utility and a set of instructions on how to do light painting with litchi.
Light painting with a drone is a type of light painting where a drone equipped with LED lights is flown in the air to create patterns and designs. The drone’s movements and lights are captured using a long exposure from a tripod-mounted camera, resulting in stunning and unique images.
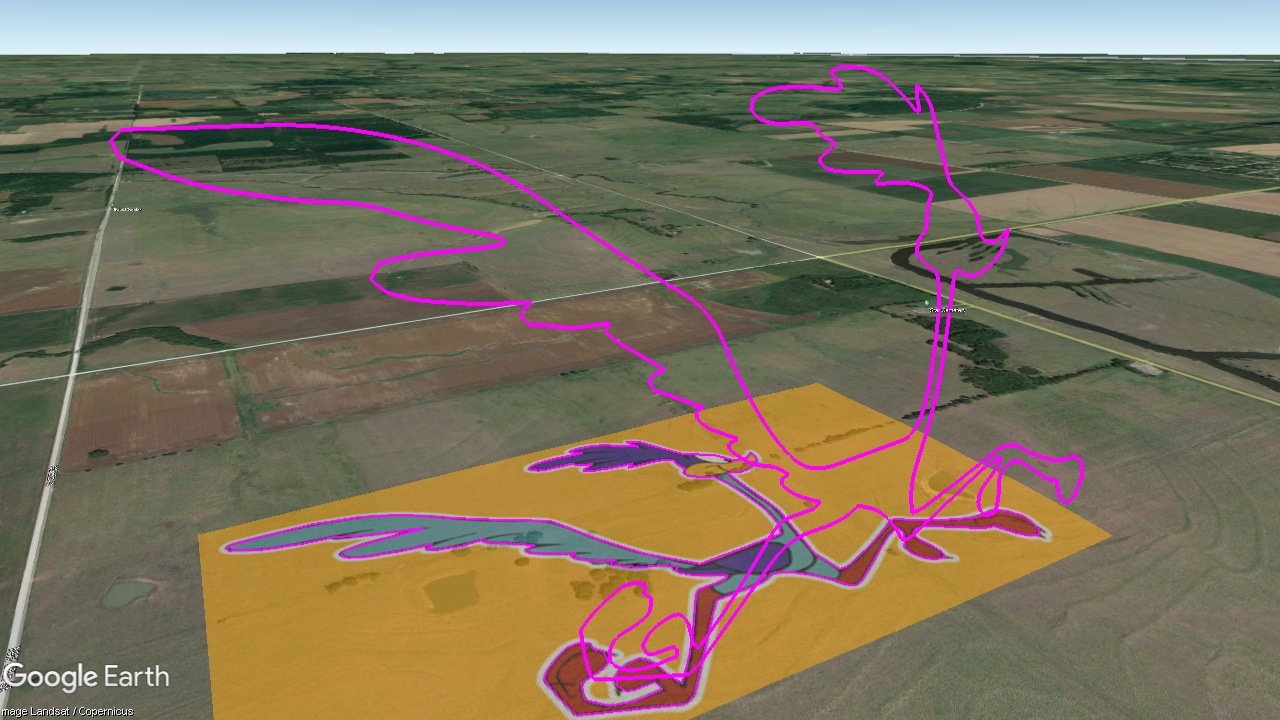
Here is an example of a waypoint path displayed in Google Earth Pro to be used for light painting:
Here are the full instructions with a link to the new Rotate Litchi Mission utility:
3 Likes
No chance to actually give a real picture with this? Would certainly add a lot to understanding
There are many examples on-line. Here is one such site.
1 Like
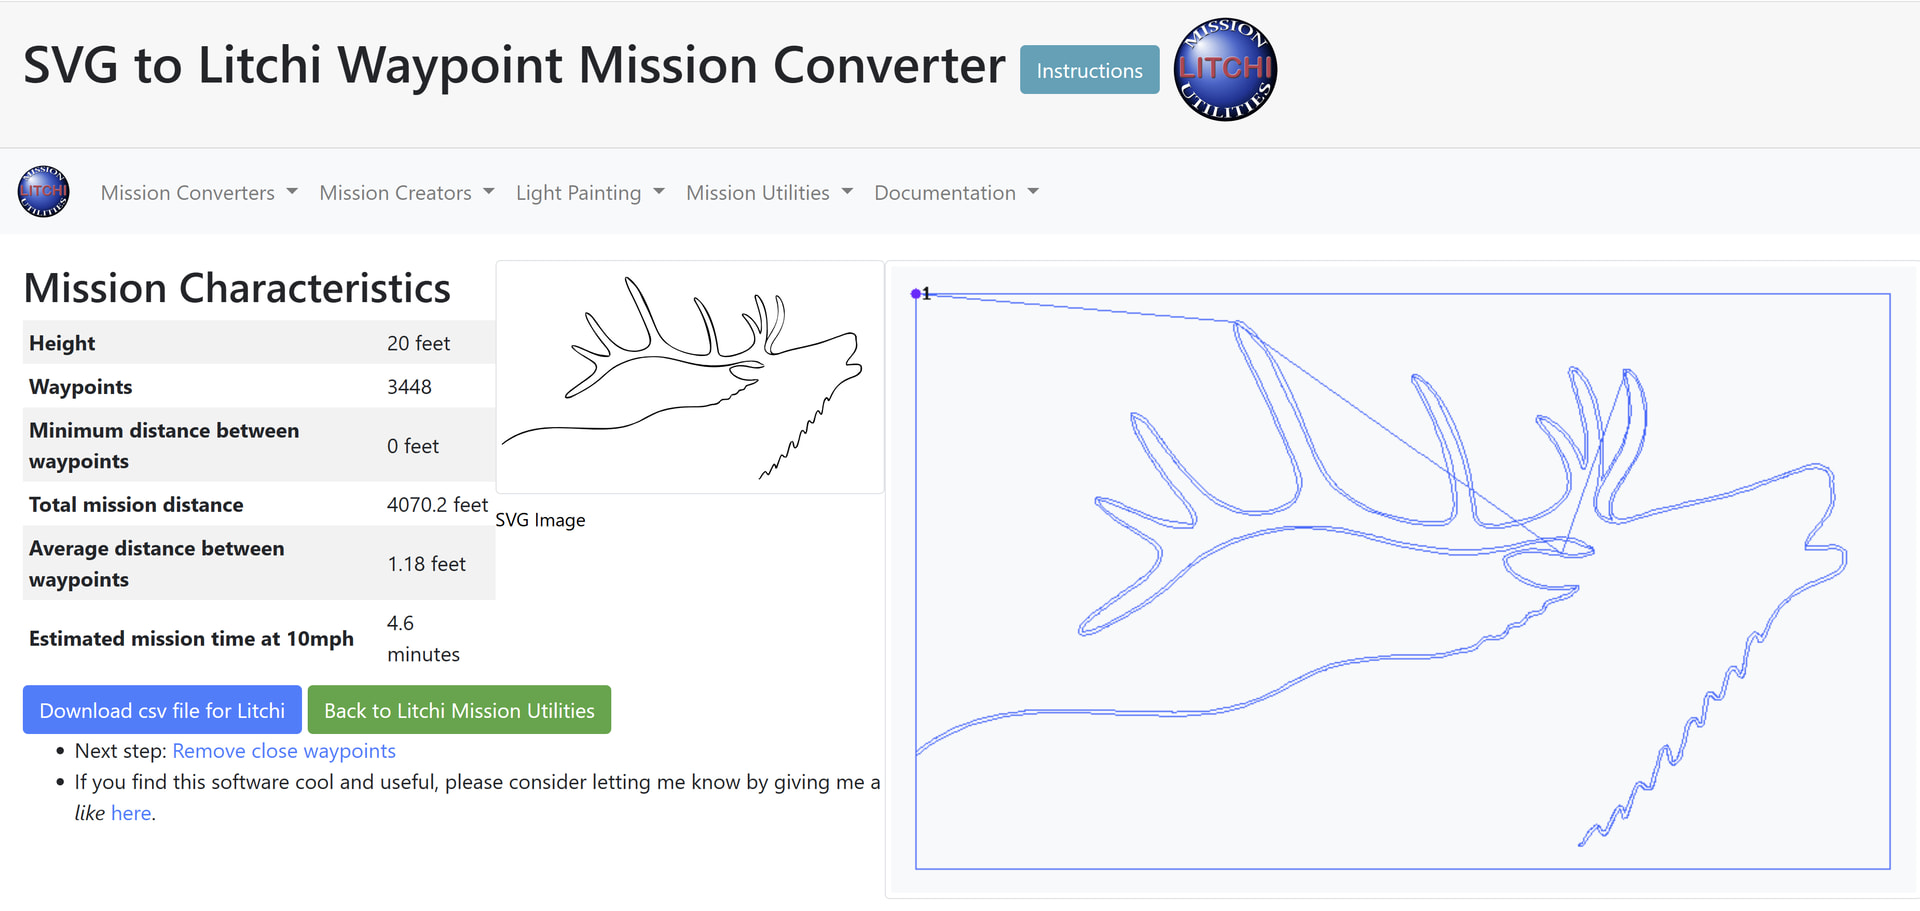
@wes could you share more about the proper selection of line art (vectors) that work well when converting png to svg? Every time I convert an image (like below) it gets converted with a double row of waypoints. It’s like the algorithm traces the inside and outside of the line, even if the line is very thin. This image is a 1 pixel vector converted to 2-bit black & white on a white background.
How do I not get the double line waypoints?
(I don’t care about the overall height - meaning if above 400 ft. as I will size later after rotating.)
There are a couple other members (@chrislaf @Russ_Cleroux ) who have more experience than I do with this (even though I wrote these utilities). There are a couple things you can try:
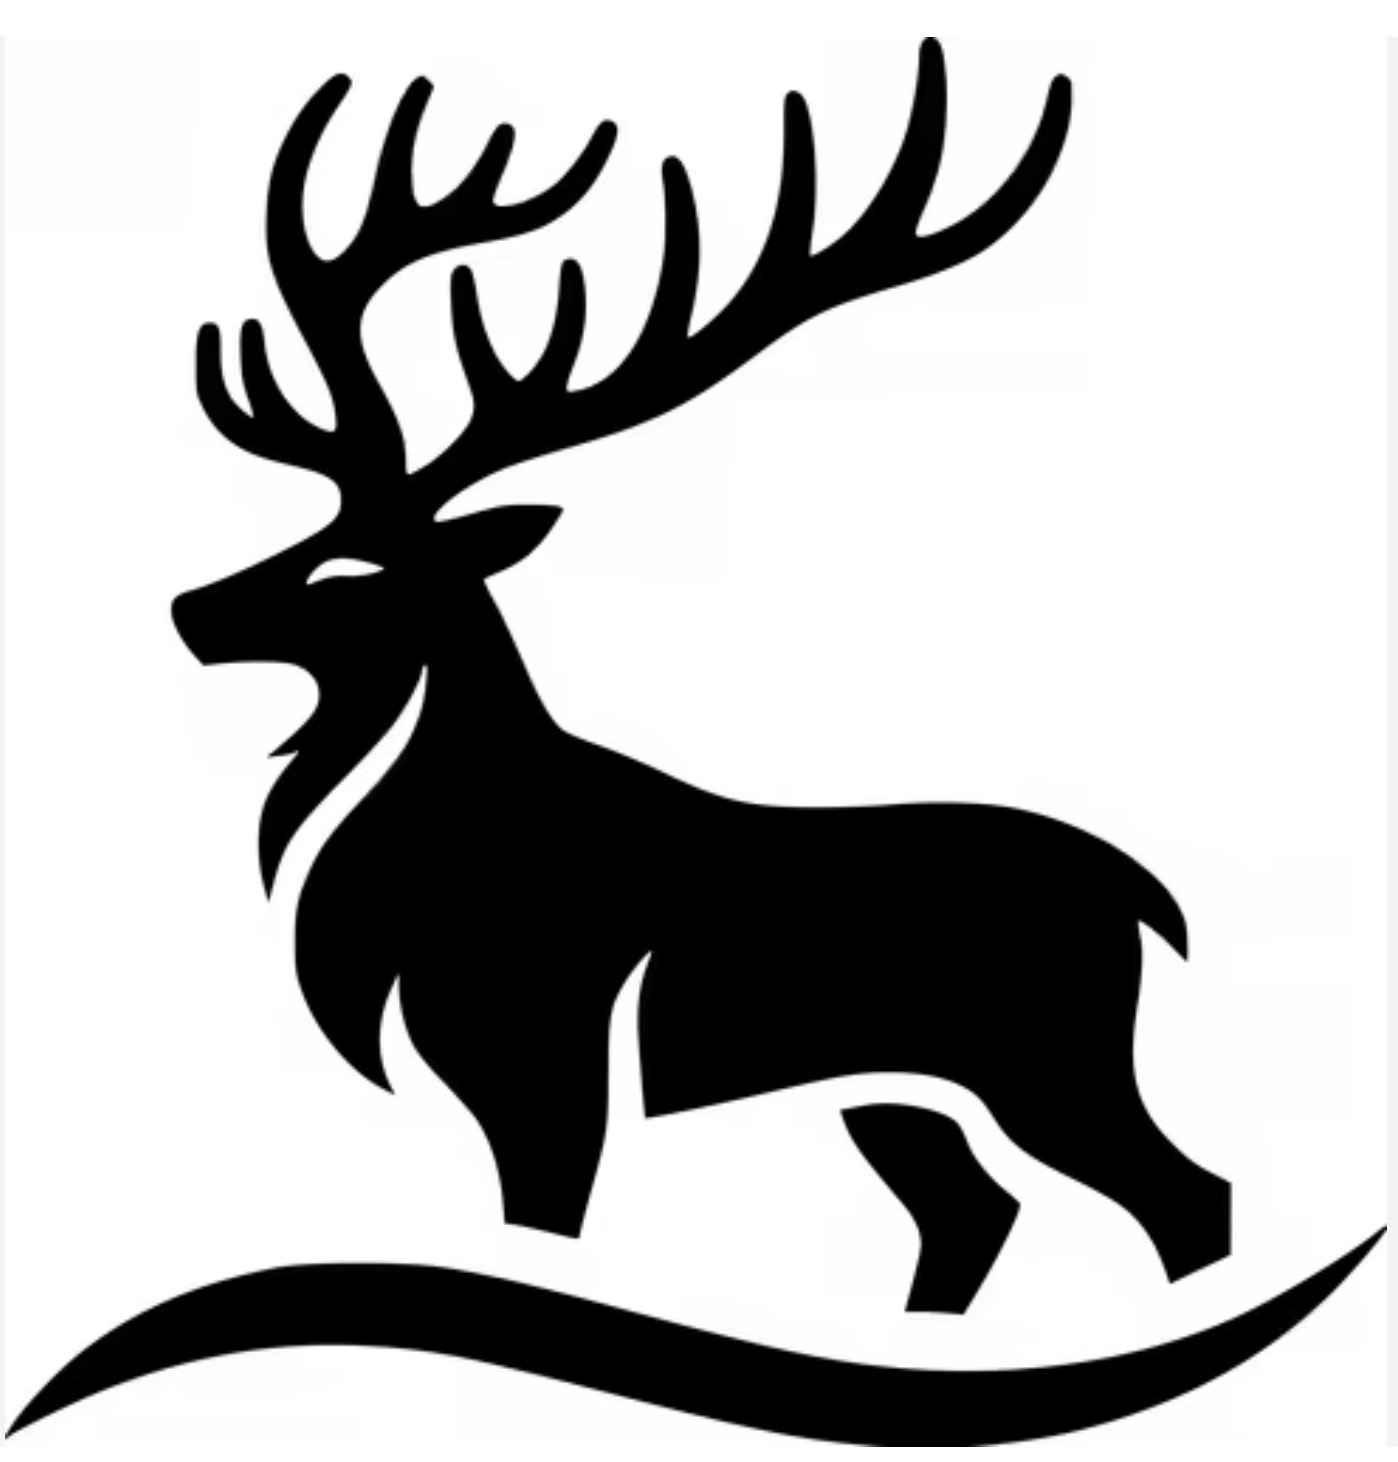
- Obtain a solid image (not a line drawing) of the item you wish to paint. Alternatively, you can do a flood fill on the image to fill in the body of the subject. This step may require that you convert the SVG to PNG, do the flood fill, then convert back to SVG. Once that is done, the SVG to Litchi conversion will create a single outline.
- You could edit the CSV file and remove the inner (or outer) outline manually. This might take several iterations but it can be done.
If you want further help I am willing to attempt to modify your images for you.
Hi, I would find a piece of clip art like the one pictured and do a screenshot of it. Then you will be able to convert it as necessary.
@AggieDan97 as you have discovered it doesn’t matter how thin the line is that is in your drawing, it will always create two parallel lines when converted with Wes’ utilities. The only solutions are to convert it to a filled image like the one Russ posted, find another one similar to the one you want to paint that is filled, or to trace your original image by hand in Google Earth like the way Russ and I used to do it before Wes created his utilities to automate the process.
Tracing the image in Google Earth will solve the problem but the process is tedious and time consuming.
Hope this helps. Welcome to the wonderful world of Light Painting with a drone.
Chris
@wesbarris @chrislaf flood fill worked like a champ! So much easier. Thankful I know this will go much faster now and no more tracing! Fantastic.
Thank You
Glad to hear that filling worked out for you. Good luck with your light painting. What drone are you going to be using?
Chris